Schedule Appointments with Google Forms- Complete Guide
Tired of nonsense pricing of DocuSign?
Start taking digital signatures with BoloSign and save money.
Introduction
Tired of the tedious back-and-forth when it comes to scheduling appointments with your valued clients or customers? How about empowering them to effortlessly choose an available time slot that suits their needs? Sounds intriguing, right? Well, let me introduce you to a well-known solution: setting up a Google form exclusively designed for streamlined appointment scheduling.
With Google Forms at your disposal, you unlock a centralized platform that revolutionizes your appointment management. Whether you're coordinating a busy schedule or keeping tabs on your commitments via Google Calendar, this efficient solution has got you covered. Sharing access to the forms is a breeze, and the fact that most individuals are already familiar with the platform adds an extra layer of convenience.
Get ready to explore the limitless possibilities of utilizing Google Forms for appointment scheduling. And guess what? We won't stop there! Along the way, we'll introduce you to an exciting alternative that will ignite your imagination and take your scheduling endeavors to new heights.
Utilizing Google Forms for Appointment Scheduling
To effectively utilize Google Forms for scheduling appointments, there are a series of steps to follow, which may involve the use of certain add-ons. Although not mandatory, incorporating add-ons enhances the functionality of Google Forms. Let's delve into the process.
Creating a Google Form
The initial step entails creating a form specifically designed for appointment bookings.
Visit the Google Forms website by clicking here or accessing it through Google Drive. Select a blank form to start from scratch. Provide a relevant title for your form that clearly conveys the purpose of the appointment. Additionally, you can include additional information in the form description section.
Setting the Scheduling Fields
Once you have provided the title and description, proceed to configure your booking form as follows:
Pro Tip: Skip the hassle of creating scheduling forms, use Premade Templates by BoloForms — it’s free!
- Below the title, you will find the first section of the form. Click on "question" to rename this section according to your preferences. You can create separate sections for different days, time slots, or services based on your needs.
- To add a new section, click on "Add Section" from the options box adjacent to the question box.
- Include relevant questions and select appropriate response types. Common options include multiple-choice, checkboxes, and dropdown questions. You can also use the date and time feature to allow respondents to specify their preferred dates or times.
- Under the "date" option, you can choose to include time and/or year. For the "time" option, you can select time or duration. Moreover, you can incorporate "conditional logic" for multiple-choice and drop-down questions. By clicking on the three dots at the bottom of the question box and selecting "Go to section based on the answer," you can direct respondents to specific question tabs or time slots based on their choices.
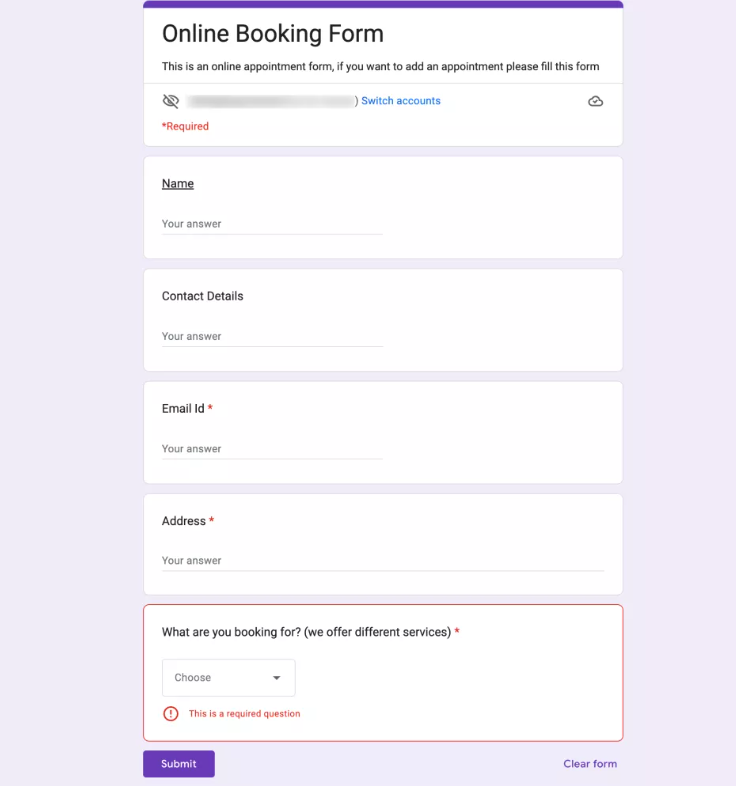
Here are some suggested questions for appointment booking forms:
- Contact Details & Address
- On which day do you require the service?
- Which time slot suits you best?
- What service are you booking? (applicable to brands offering various services)
- Select the service category (relevant for services with different categories, such as hair services including haircut, coloring, treatment, etc.)
Choice Elimination for Time Slot Selection
This step is optional but can enhance your appointment booking process by allowing clients to choose from available time slots. Follow these steps to enable choice elimination:
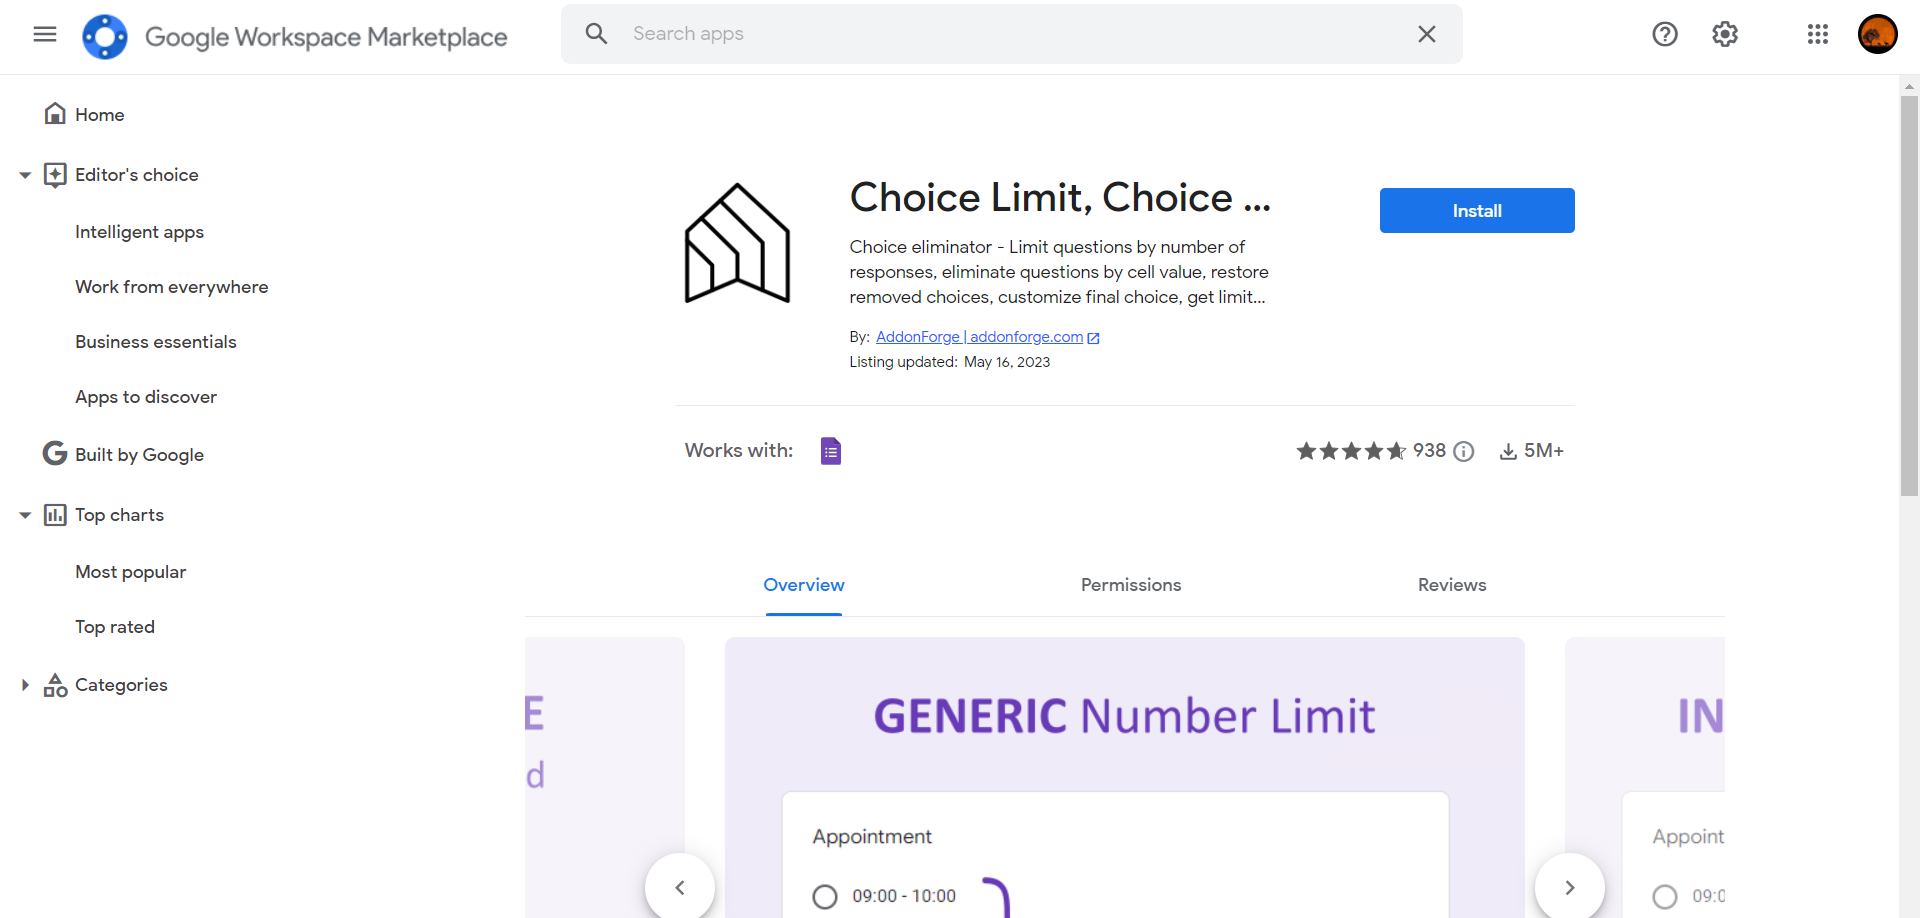
- Download the Choice Eliminator add-on for Google Forms. Multiple choice limit apps are available, but we specifically recommend the Choice Eliminator app.
- Install the add-on by accessing the "More" option and selecting "Add-ons." Search for the Choice Limit app and proceed with the installation.
- Integrate the app into your form by clicking on the puzzle-shaped icon located at the top of the form. This completes the setup process of Google Forms for appointment scheduling.
- The Choice Limit window will appear on the side, offering options for "number and value limit." Under the "number" category, you can choose between generic and individual number limits. Generic limits eliminate each choice once the set limit is reached, while individual limits allow for different limits on each option of a question.
- If you have multiple questions on your online booking form, repeat this process for each section. Remember to enable the "Number limit" option.
Sending the Appointment Request Form
After configuring your Google Forms for appointments, the form is ready to be sent out. Follow these steps to distribute the form:
- You have the option to preview the form before sending it out. Simply click on the "eye icon" to access the preview.
- Click on the "Send" button and choose the desired method for sharing the form, such as email, link, or embedding HTML.
How to use BoloForms for scheduling
While Google Forms provides a simple and effective solution for scheduling, it has its limitations. The interface is relatively basic and informal, you have to create forms from scratch and doesn't reflect your brand identity.
That's where BoloForms comes to the rescue—an online form builder designed specifically for your needs. Gain access to a wide range of pre-made templates that can be tailored to meet your scheduling requirements.
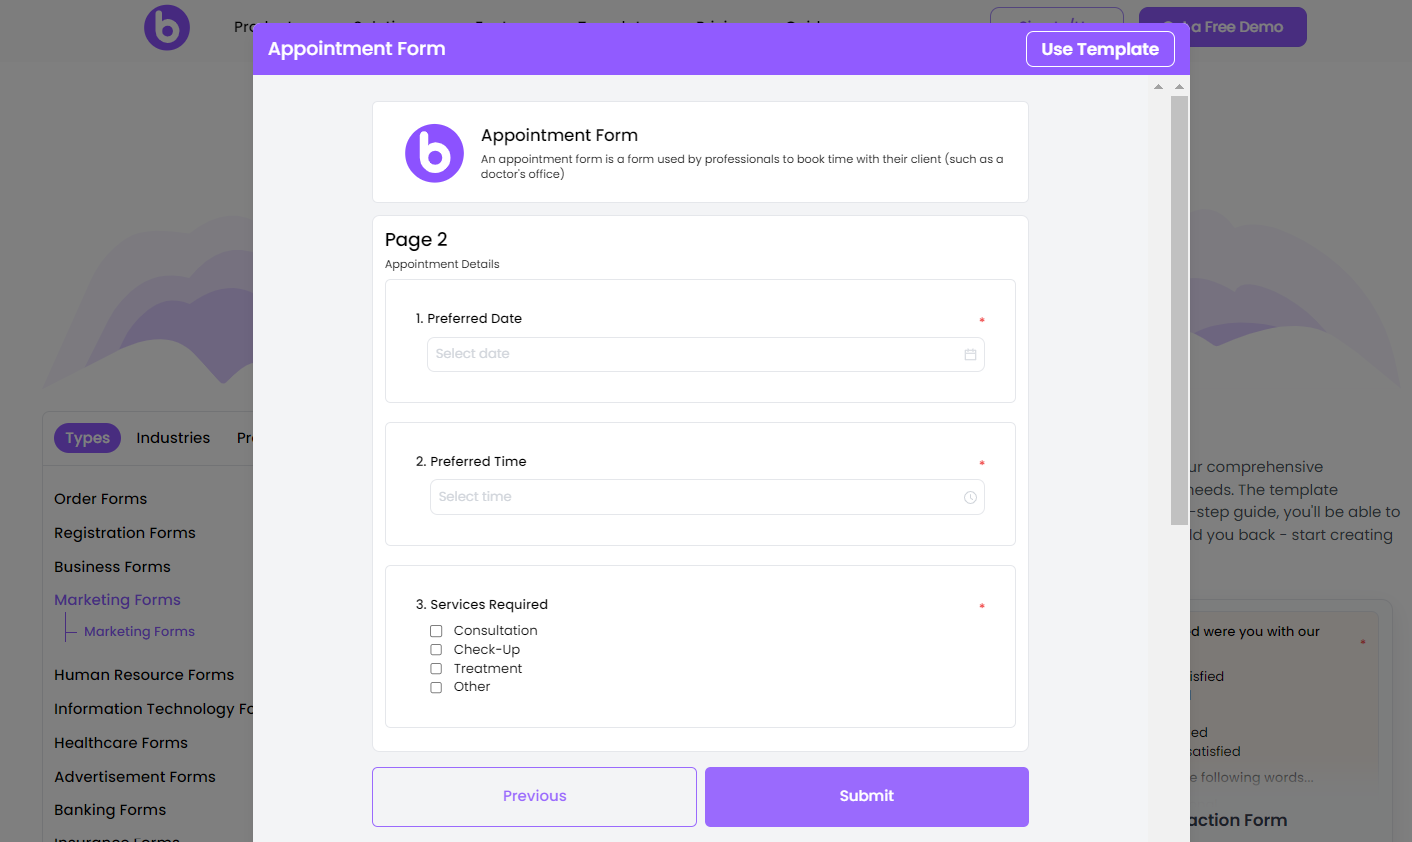
Appointment Form Template by BoloForms
Additionally, customize the form with your branding, ensuring a professional and cohesive representation of your business.
Experience the convenience and efficiency of BoloForms today and discover how online forms can revolutionize your scheduling procedures.
Conclusion
Scheduling appointments no longer needs to be a time-consuming and arduous task. With the power of Google Forms, you can simplify the process and gain control over your appointment management. By creating a customized form tailored to your specific needs, you provide clients and customers with a seamless way to select their preferred time slots.
Furthermore, the optional integration of add-ons like Choice Eliminator enhances the functionality of Google Forms by allowing you to eliminate choices based on availability. This ensures a smooth and efficient appointment booking experience.
However, if you're seeking a solution that goes beyond the basic features of Google Forms, BoloForms emerges as a game-changer. With its extensive range of premade templates and the ability to customize forms with your branding, BoloForms offers a professional and visually appealing option for appointment scheduling.
So, whether you choose to stick with Google Forms or explore the possibilities with BoloForms, one thing is certain: by utilizing online forms for scheduling, you can streamline your business operations, eliminate scheduling conflicts, and provide a convenient experience for both you and your clients.
Embrace the power of online forms and bid farewell to the complexities of appointment management. Let technology work for you, and watch your business thrive with efficient and hassle-free scheduling.

Paresh Deshmukh
Co-Founder, BoloForms
28 Jul, 2023
Take a Look at Our Featured Articles
These articles will guide you on how to simplify office work, boost your efficiency, and concentrate on expanding your business.