How to Sign a Power of Attorney(POA)
Learn essential techniques for signing as Power of Attorney confidently and legally. Master the process with expert guidance.
Tired of nonsense pricing of DocuSign?
Start taking digital signatures with BoloSign and save money.
Introduction
Wondering how to sign as power of attorney? When someone designates you as their attorney-in-fact through a Power of Attorney (POA), you acquire the legal authority to sign documents on their behalf when required. However, this process is not as straightforward as merely inscribing both your names. It entails a series of essential steps to ensure that you sign as the power of attorney correctly, thereby preventing any complications when handling documents on behalf of the principal.
To execute this responsibility effectively, it's crucial to be aware of the specific guidelines and formalities associated with acting as an attorney-in-fact. Understanding these procedures and adhering to them diligently is vital to maintaining legal compliance and safeguarding the principal's interests.
First and foremost, it's imperative to comprehend the scope and limitations of the POA granted to you. Different POAs can grant varying levels of authority, from specific actions like signing financial documents to broader responsibilities encompassing various legal matters. Therefore, before signing any document on the principal's behalf, you must ascertain whether your authority extends to the particular document or transaction in question.
Once you've determined that your POA covers the specific document or action, it's time to sign. The process typically involves a few key steps:
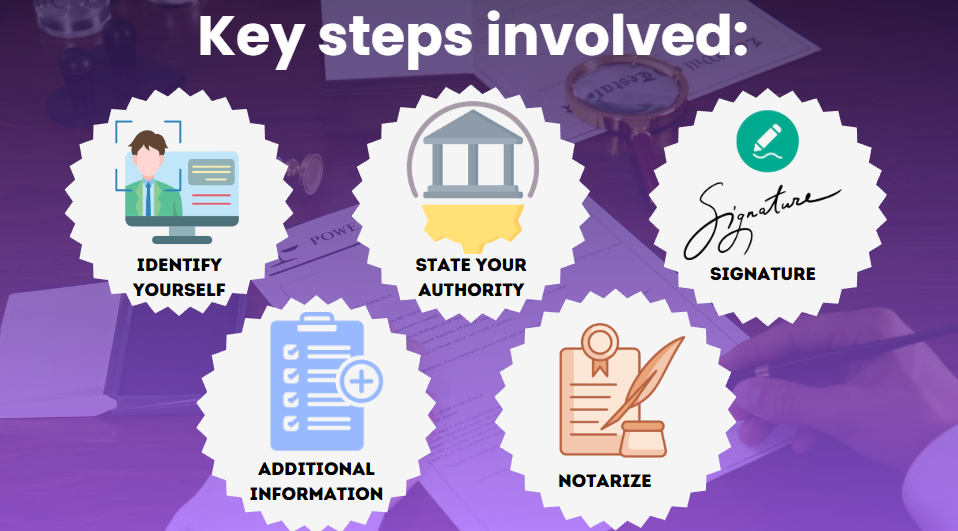
- Identify Yourself: Begin by identifying yourself as the attorney-in-fact. This helps distinguish your signature as being on behalf of the principal, rather than in your capacity.
- State Your Authority: Explicitly state your authority as the attorney-in-fact. For example, you may write "John Smith, as attorney-in-fact for Jane Doe."
- Signature: Sign the document using the principal's name. You should sign your name below the principal's name to indicate that you are signing on their behalf.
- Additional Information: Some documents may require additional information, such as the date, your contact information, or the specific powers granted in the POA. Ensure that you provide any necessary details as per the document's requirements.
- Notarization: Depending on the document and jurisdiction, notarization may be necessary. In such cases, you must sign the document in the presence of a notary public, who will verify your identity and acknowledge your signature.
What Is a Power of Attorney?
A Power of Attorney is a legally binding document that establishes a contractual relationship between two parties: the principal and the attorney-in-fact, often referred to as the agent.
This document confers specific rights and responsibilities upon the attorney-in-fact, empowering them to:
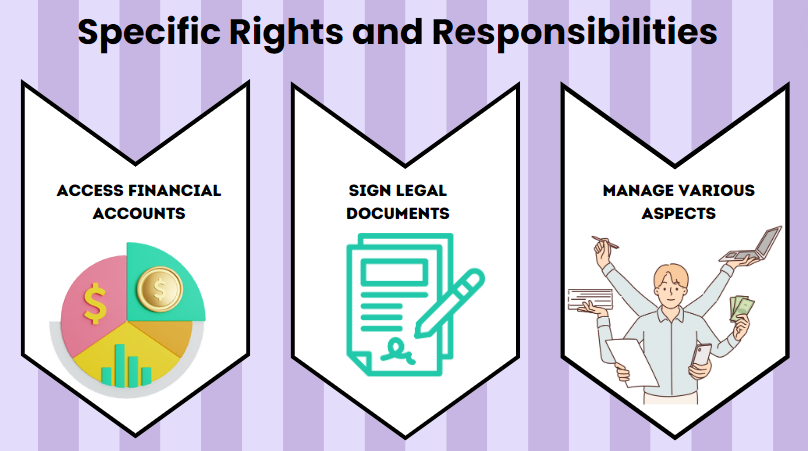
- Access the principal's financial accounts.
- Sign legal documents on behalf of the principal.
- Manage various aspects of the principal's legal and business affairs.
In the role of an attorney-in-fact, it is paramount to prioritize the best interests of the principal and to faithfully carry out their directives when signing documents. This means that the agent must act according to the principal's wishes, without exception.
Notably, a durable power of attorney remains in effect even if the principal becomes incapacitated and cannot communicate their preferences.
In situations where there are concerns that the agent is not acting in the principal's best interests, there are mechanisms in place to challenge or override the power of attorney designation, ensuring that the principal's interests are protected.
How should a POA sign documents - A 6-Step Guide
Step 1: Bring Your Power of Attorney Agreement and ID
When acting as a Power of Attorney, it's crucial to have the original or a copy of the fully signed power of attorney form with you, even if you've previously submitted it to the relevant institution. Additionally, carry a government-issued photo ID, like a driver's license, to confirm your identity and authenticate your signature.
Step 2: Determine the Preferred Signature Format
Contact the institution in advance to ascertain their preferred signature format when signing under a Power of Attorney.
Step 3: Sign as the Principal
Start by signing the Principal's name to indicate that you're acting on their behalf, using their full legal name and replicating any existing format if available.
Step 4: Sign Your Name
Sign your name beneath the Principal's name, prefacing it with "by" to signify that you're signing as Power of Attorney on behalf of the Principal.
Step 5: Express Your Authority as Attorney-in-Fact
Clarify your authority to sign on the Principal's behalf by adding "attorney-in-fact" or other suitable terms under or next to your name, as failure to do so could invalidate the agreement.
Step 6: File the Documentation Somewhere Safe
Ensure you securely store all the documents you've signed. Remember that using a Power of Attorney after the Principal's passing is not legally permissible.
Understanding these steps and adhering to legal requirements will help ensure a smooth and compliant signing process when acting as a Power of Attorney.
How to sign documents with a power of attorney
Signing documents with a power of attorney involves specific steps to ensure that the signature is legally valid. Here's a general guide, but it's important to note that legal requirements can vary by jurisdiction, so it's advisable to consult with a legal professional to ensure compliance with local laws.

- Obtain the Power of Attorney (POA) Document:
- Make sure you have a valid and properly executed Power of Attorney document. This legal document grants someone else (the attorney-in-fact or agent) the authority to act on your behalf.
- Review the Powers Granted:
- Understand the specific powers granted to the attorney-in-fact. The POA document should outline the scope of authority, limitations, and any specific instructions regarding document signing.
- Identify the Attorney-in-Fact:
- Ensure that the person signing on your behalf (the attorney-in-fact) is the individual designated in the Power of Attorney document.
- Verification of Identity:
- Depending on the circumstances and local regulations, the person acting under the power of attorney may need to provide identification to verify their identity. This could include government-issued photo identification.
- Use Clear Language:
- When signing documents, the attorney-in-fact should make it clear that they are signing on behalf of the principal (the person who granted the power of attorney). For example, they might sign as "[Attorney-in-Fact's Full Name], Attorney-in-Fact for [Principal's Full Name]."
Signing Legal Contracts with BoloForms Signature
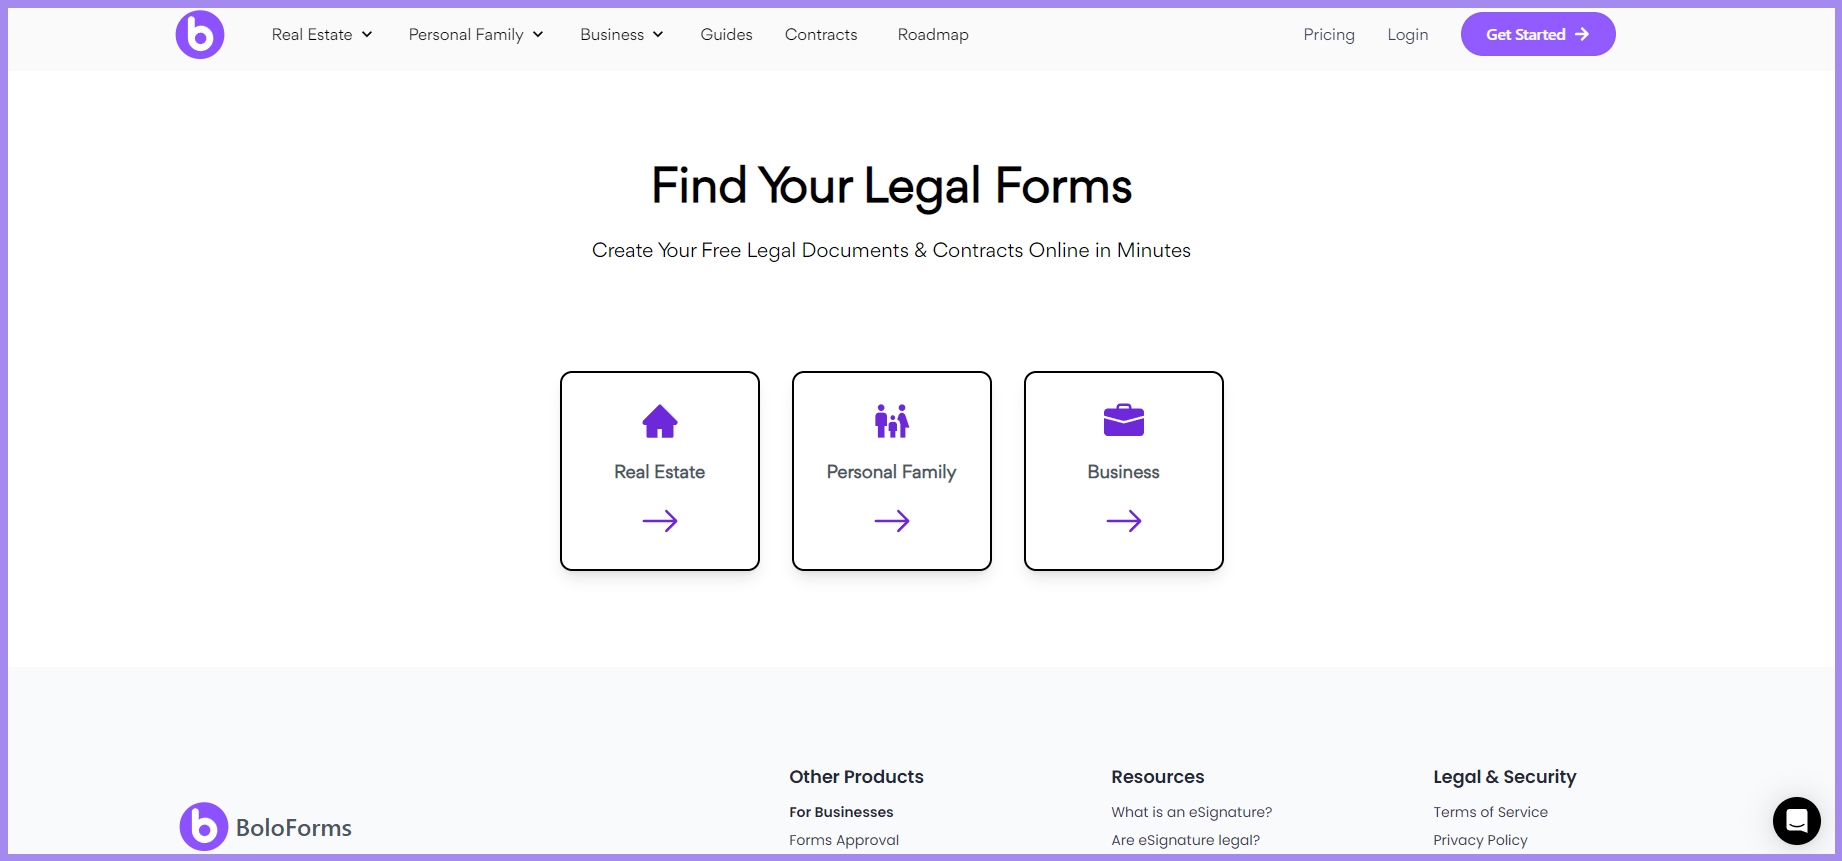
BoloForms is an all-encompassing digital signature platform designed to meet the unique needs of Power of Attorney and personal family contracts. It provides a user-friendly solution for individuals handling personal and family-related legal documents, ensuring seamless contract management and compliance.
At its core, BoloForms equips you with three pivotal functions:
- Digital Signature Creation: Whether you prefer drawing, typing, or uploading your signature, BoloForms offers versatile options to create your digital signature.
- Efficient Document Editing: Easily complete form fields and digitally sign your documents using the integrated editor.
- Streamlined Document Sharing: Send your documents to involved parties, initiating signature requests with utmost ease.
One standout feature is the availability of pre-made templates, which not only save you valuable time but also provide essential legal protection. These contract templates have undergone thorough scrutiny by legal experts to ensure compliance and reliability. Furthermore, these templates can be effortlessly customized and personalized to suit your specific requirements. Once signed, these contracts are legally binding, offering you the peace of mind and legal security you need in real estate transactions.

Security and compliance are top priorities for BoloForms. The platform implements robust firewall measures, physical data hosting security, and data encryption to safeguard sensitive information in Power of Attorney and personal family contracts. BoloForms is designed with a focus on efficiency and ensuring a smooth document workflow, providing a secure and reliable solution for managing legal matters within families and for Power of Attorney arrangements.
Signing PDF Using BoloForms
Adding digital signatures to PDF documents is a crucial step in enhancing their authenticity and security. Here's how to do it:
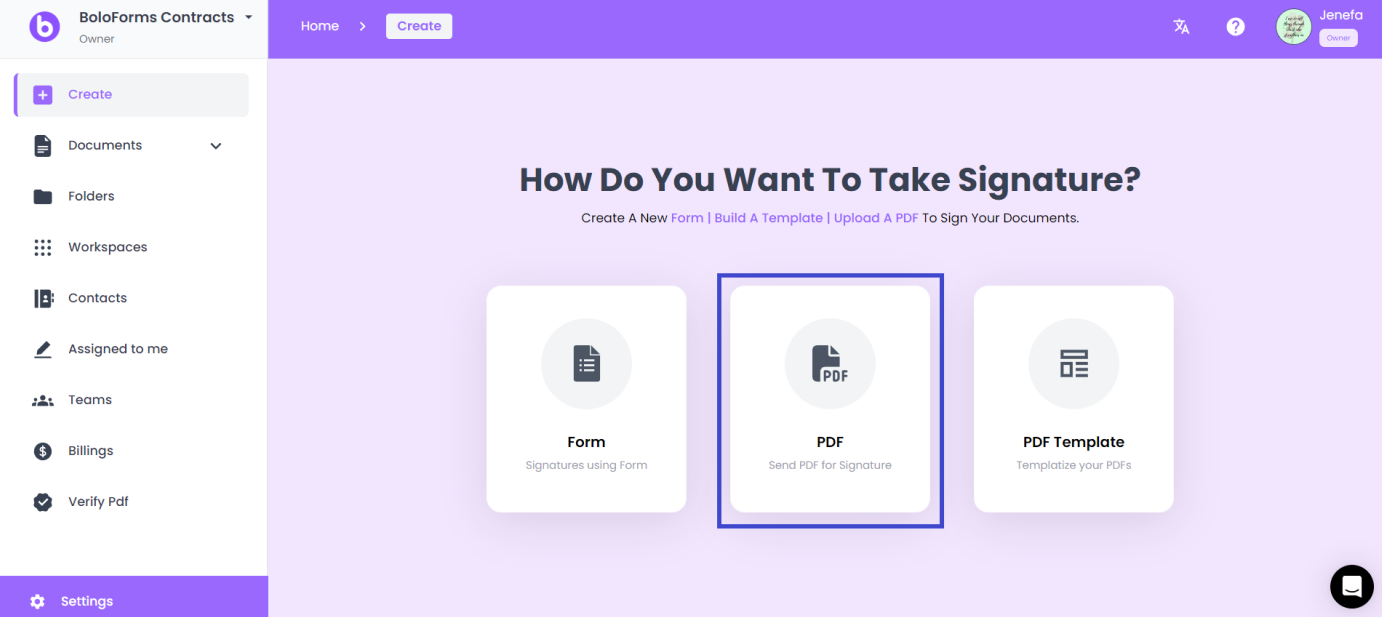
Step 1: Open the PDF on BoloForms.com
Begin by logging in to your BoloForms.com account. Navigate to the menu and select "Sign in."
Upload the PDF that you want to get signed, to do so click on PDF.
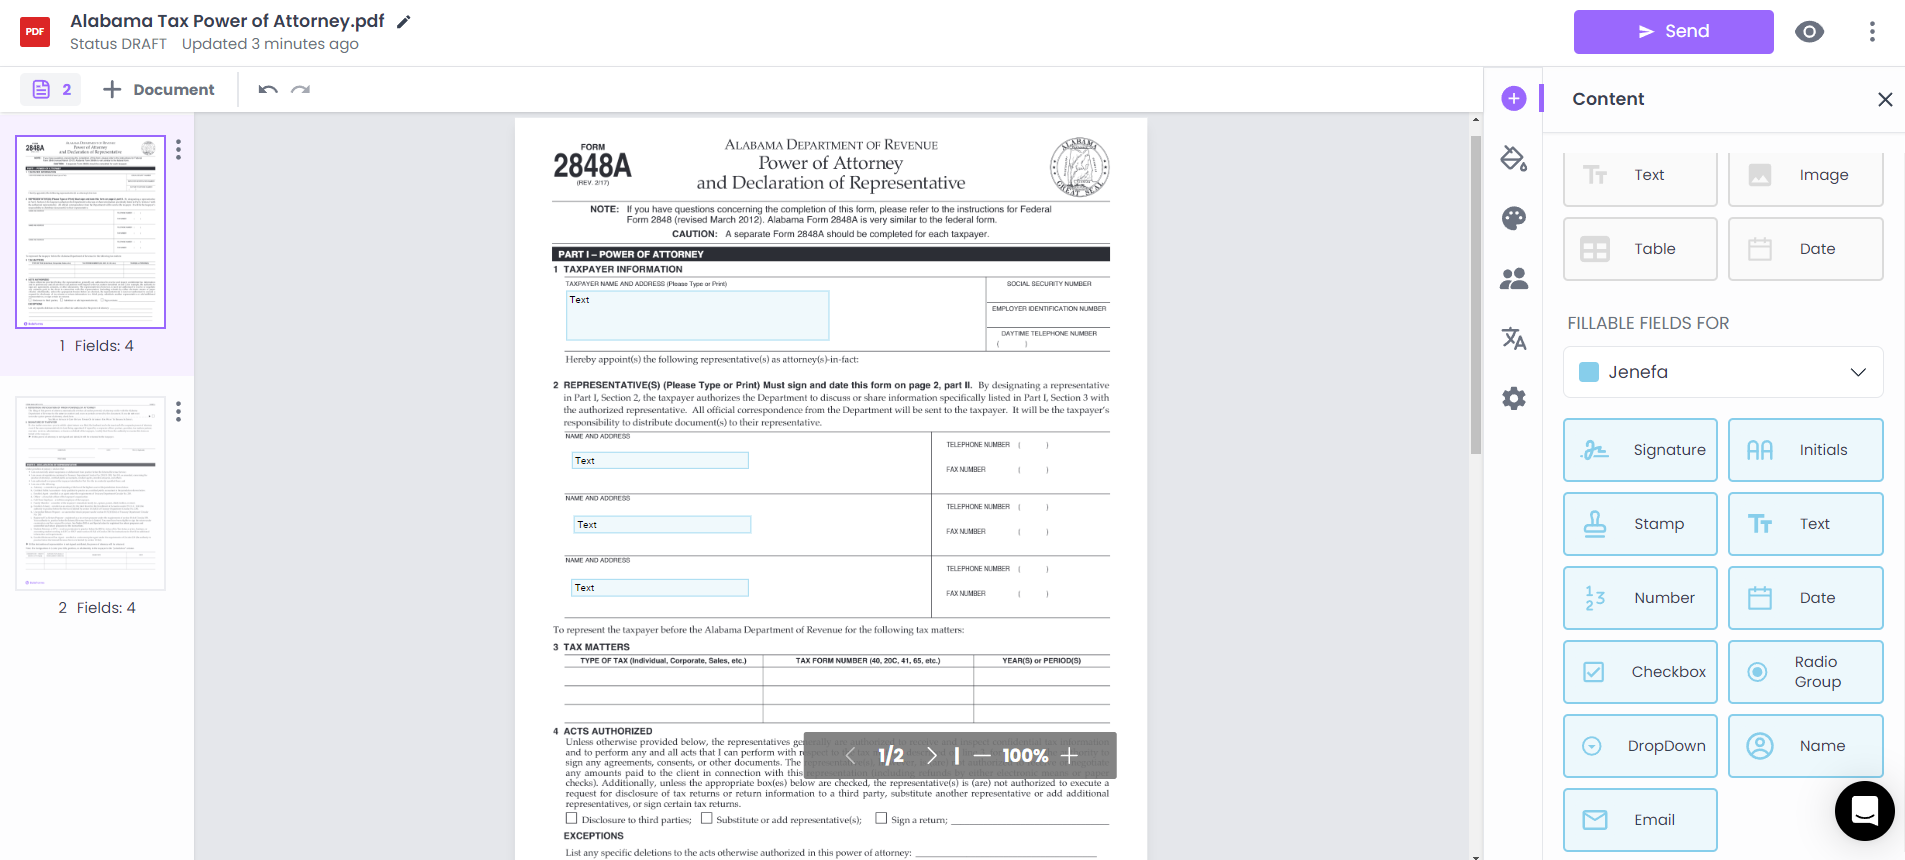
Step 2: Fill the details and Upload the PDF to get a digital wet signature
Start by filling in the recipient's information in the provided fields. Once all the necessary details are entered, just click the "Add" button to include the recipient in the list. To make sure your updates are saved, remember to hit the "Save" button after any modifications are complete.

Step 3: Add the Signature Field
To add the signature field to your PDF, just drag and drop it to the desired location in the document. Next, choose the recipient's name and click the "send" button.
Step 4: Digitally wet-sign a document
To begin the signing process, access the email you've received and click on "Start Signing." This action will open the PDF document that requires your electronic signature.

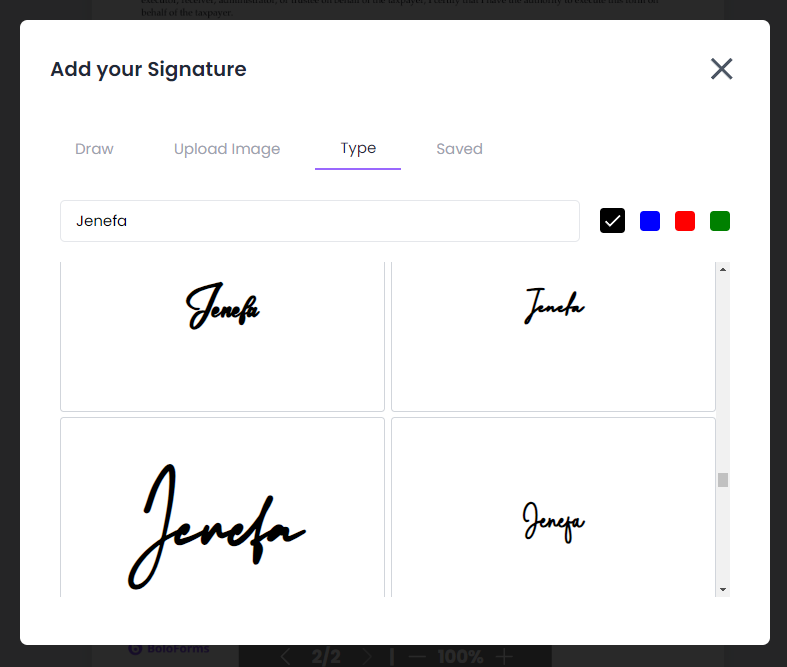
Step 5: Create a Digital Wet Signature
Our online wet signature generator provides two convenient ways to create a wet signature. You can upload a scanned image of your wet signature in PDF format or draw it using your mouse, digital pen, or stylus. If needed, you can make adjustments using the "Clear" button. Your signature is then saved as a digital image. Importantly, all signatures generated through our platform are legally recognized as official wet signatures when you confirm their use by checking the designated box, in compliance with the Electronic Signature Disclosure Act.
Conclusion
In conclusion, acting as an attorney-in-fact under a Power of Attorney is a responsible role that demands a clear understanding of the associated legal procedures. Following the six essential steps for signing a Power of Attorney is crucial to ensure both legal compliance and the protection of the principal's interests. This process involves identifying yourself, specifying your authority, signing the principal's name, expressing your authority as attorney-in-fact, and, if required, notarizing the document. Understanding the scope of the Power of Attorney and adhering to these guidelines is essential for a smooth and legally sound signing process.
Experience the convenience and security of BoloForms, a digital signature platform designed to meet the unique needs of Power of Attorney and personal family contracts. With features like digital signature creation, efficient document editing, streamlined document sharing, pre-made templates, and a comprehensive legal audit log, BoloForms ensures that the creation and signing of legal documents are simplified, secure, and efficient. Security and compliance are paramount, making BoloForms a reliable choice for managing legal matters within families and Power of Attorney arrangements.

Paresh Deshmukh
Co-Founder, BoloForms
26 Oct, 2023
Take a Look at Our Featured Articles
These articles will guide you on how to simplify office work, boost your efficiency, and concentrate on expanding your business.