How to Send Scanned Documents
Learn the easiest ways to send scanned documents via email, cloud storage, and mobile apps. Follow our simple steps for fast and secure document sharing.
Tired of nonsense pricing of DocuSign?
Start taking digital signatures with BoloSign and save money.
In the contemporary business landscape, sending scanned documents is a routine yet crucial task. Whether you're a small business owner, a real estate agent, a legal professional, or any other professional requiring document handling, an efficient and secure process is essential. At BoloForms Signature, we've streamlined this process to ensure you can send scanned documents effortlessly. This comprehensive guide will walk you through the steps to send scanned documents using BoloForms Signature, covering every detail to ensure you get the most out of our platform.
Understanding the Need for Sending Scanned Documents
Before diving into the step-by-step guide, it's essential to understand why sending scanned documents is a critical aspect of modern business operations:
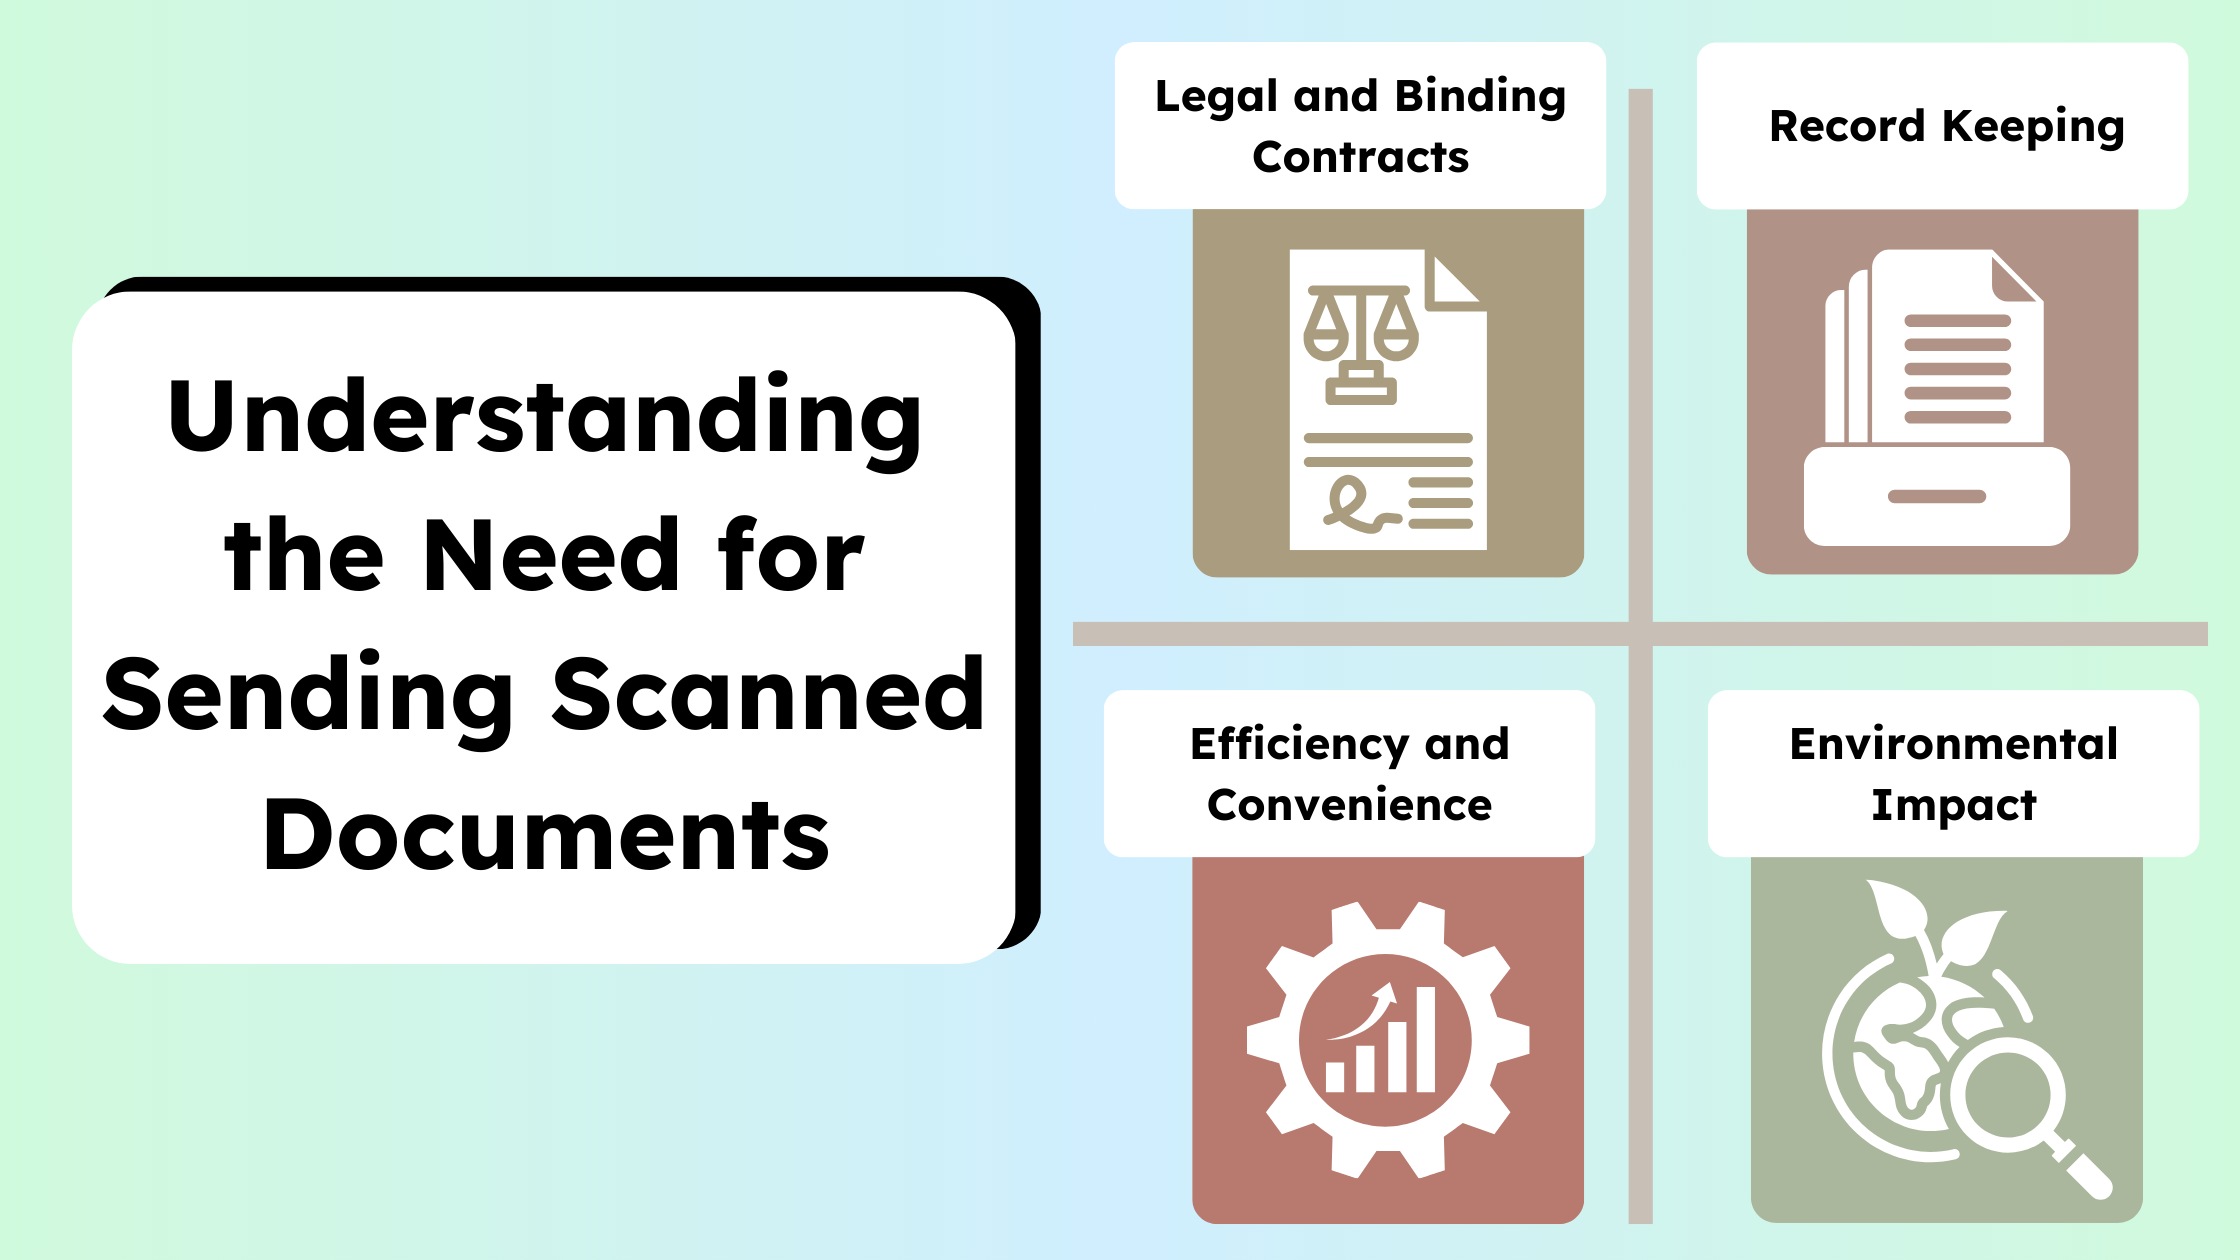
- Legal and Binding Contracts: Many legal agreements and contracts require physical signatures, which necessitates scanning signed documents and sending them electronically.
- Record Keeping: Scanned documents serve as a digital archive, ensuring important documents are preserved and can be accessed easily.
- Efficiency and Convenience: Sending documents electronically is faster and more convenient than traditional mail, especially for businesses dealing with clients or partners across different locations.
- Environmental Impact: Reducing paper usage by scanning and sending documents electronically contributes to environmental sustainability.
Step-by-Step Guide to Sending Scanned Documents with BoloForms Signature
Step 1: Scan Your Document
The initial step in sending a scanned document is to scan it properly. Here are the best practices to ensure your document is scanned accurately:
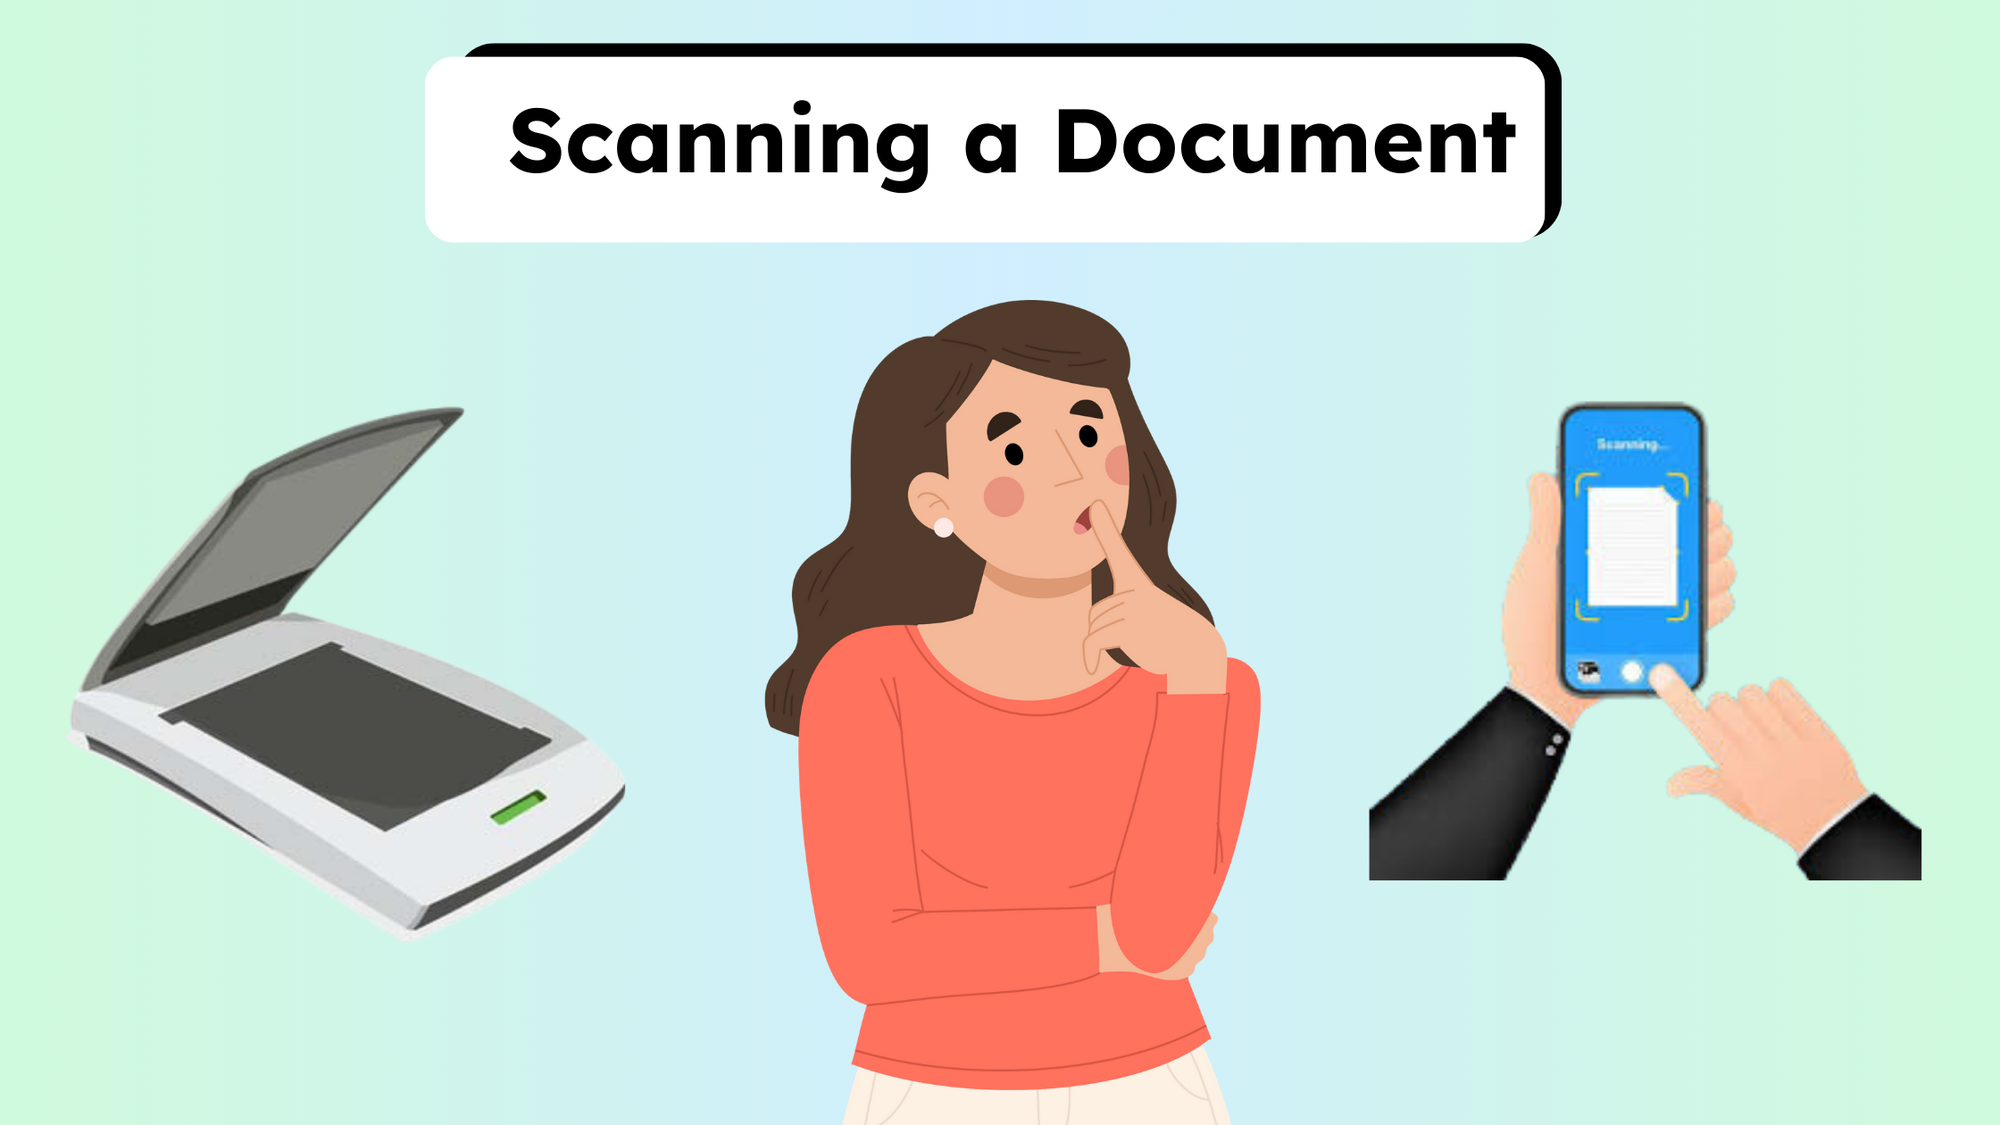
Using a Physical Scanner
- Prepare Your Document: Ensure your document is clean and flat to avoid any scanning errors.
- Select Scanner Settings: Adjust the scanner settings to the appropriate resolution (300 DPI is recommended for text documents) and choose the color settings based on the document type (black and white for text, color for images).
- Scan the Document: Place your document on the scanner bed and start the scanning process. Save the scanned file as a PDF for better quality and compatibility.
Using a Mobile Scanning App
- Choose a Reliable App: Select a mobile scanning app such as Adobe Scan, CamScanner, or even the built-in scanning feature in note-taking apps like Evernote or OneNote.
- Capture the Document: Use your phone’s camera to capture the document. Ensure good lighting and a steady hand to avoid blurriness.
- Edit and Save: Most apps offer editing tools to crop, rotate, and enhance the scanned image. Save the document as a PDF after editing.
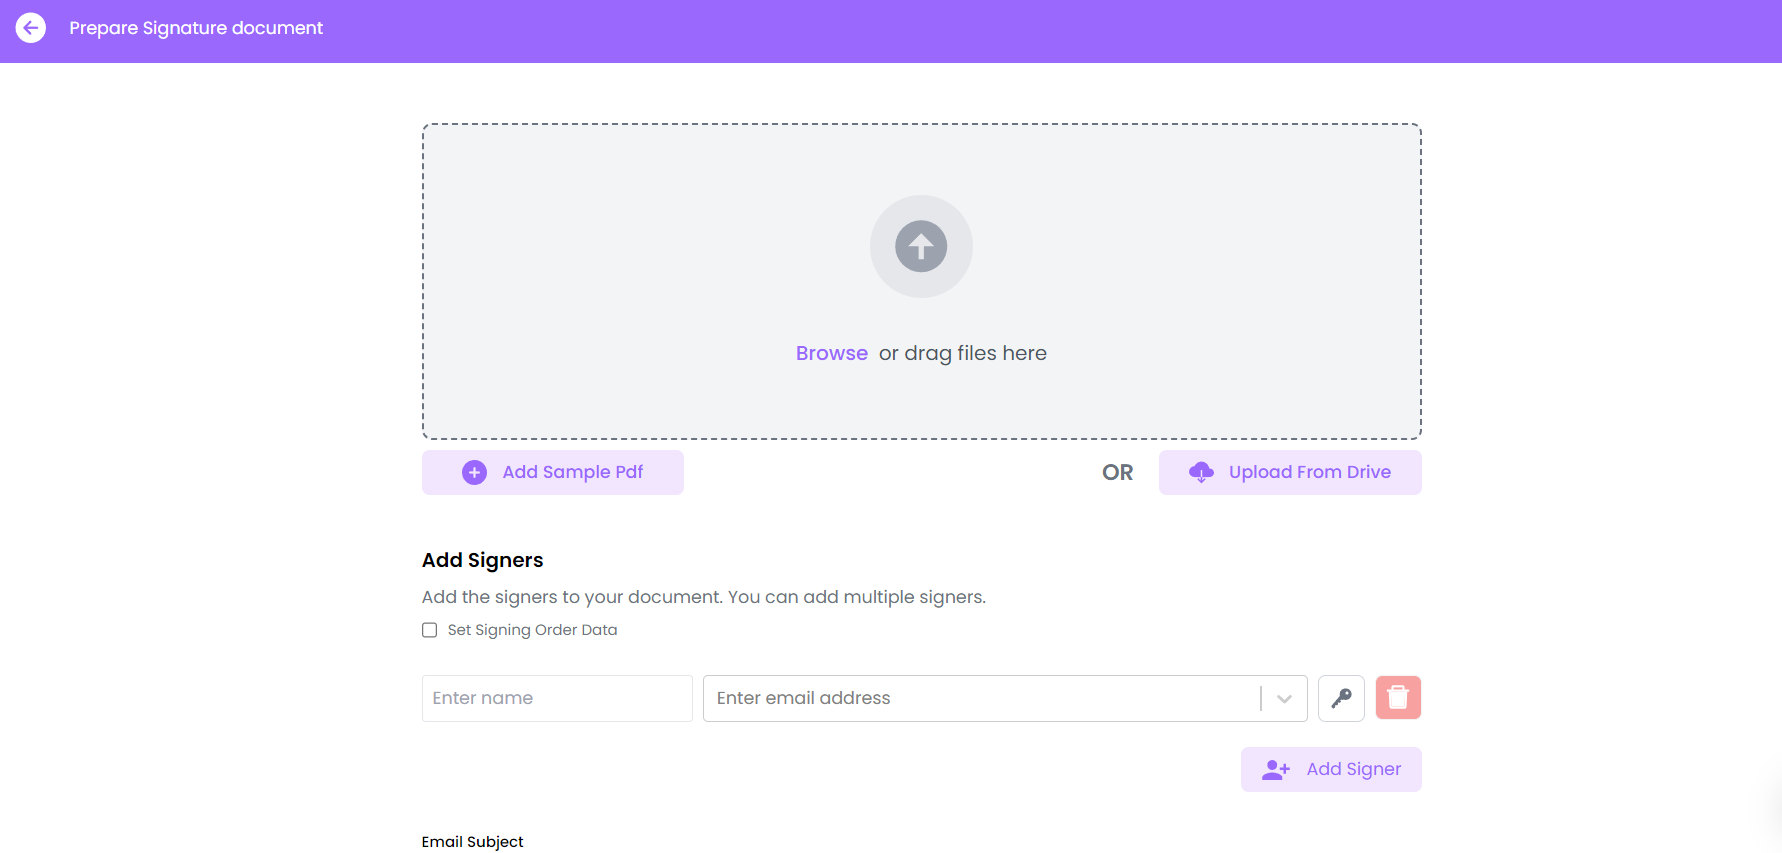
Step 2: Upload the Document to BoloForms Signature
Once your document is scanned and saved as a PDF, the next step is to upload it to BoloForms Signature. Follow these steps:
- Log in to Your Account: Open your web browser and log in to your BoloForms Signature account. If you don’t have an account yet, sign up for one—it’s quick and easy.
- Navigate to the Dashboard: After logging in, you will be directed to the dashboard. Here, you can manage all your documents and signature requests.
- Upload the Document: Click on the “Upload Document” button. A file selection window will open. Navigate to the location where your scanned document is saved, select it, and click “Open” to upload it.
Step 3: Prepare the Document for Sending
With your document uploaded to BoloForms Signature, the next step is to prepare it for sending by adding the necessary signatures and any custom fields required. BoloForms Signature offers an intuitive interface to make this process straightforward:
Adding Signature Fields
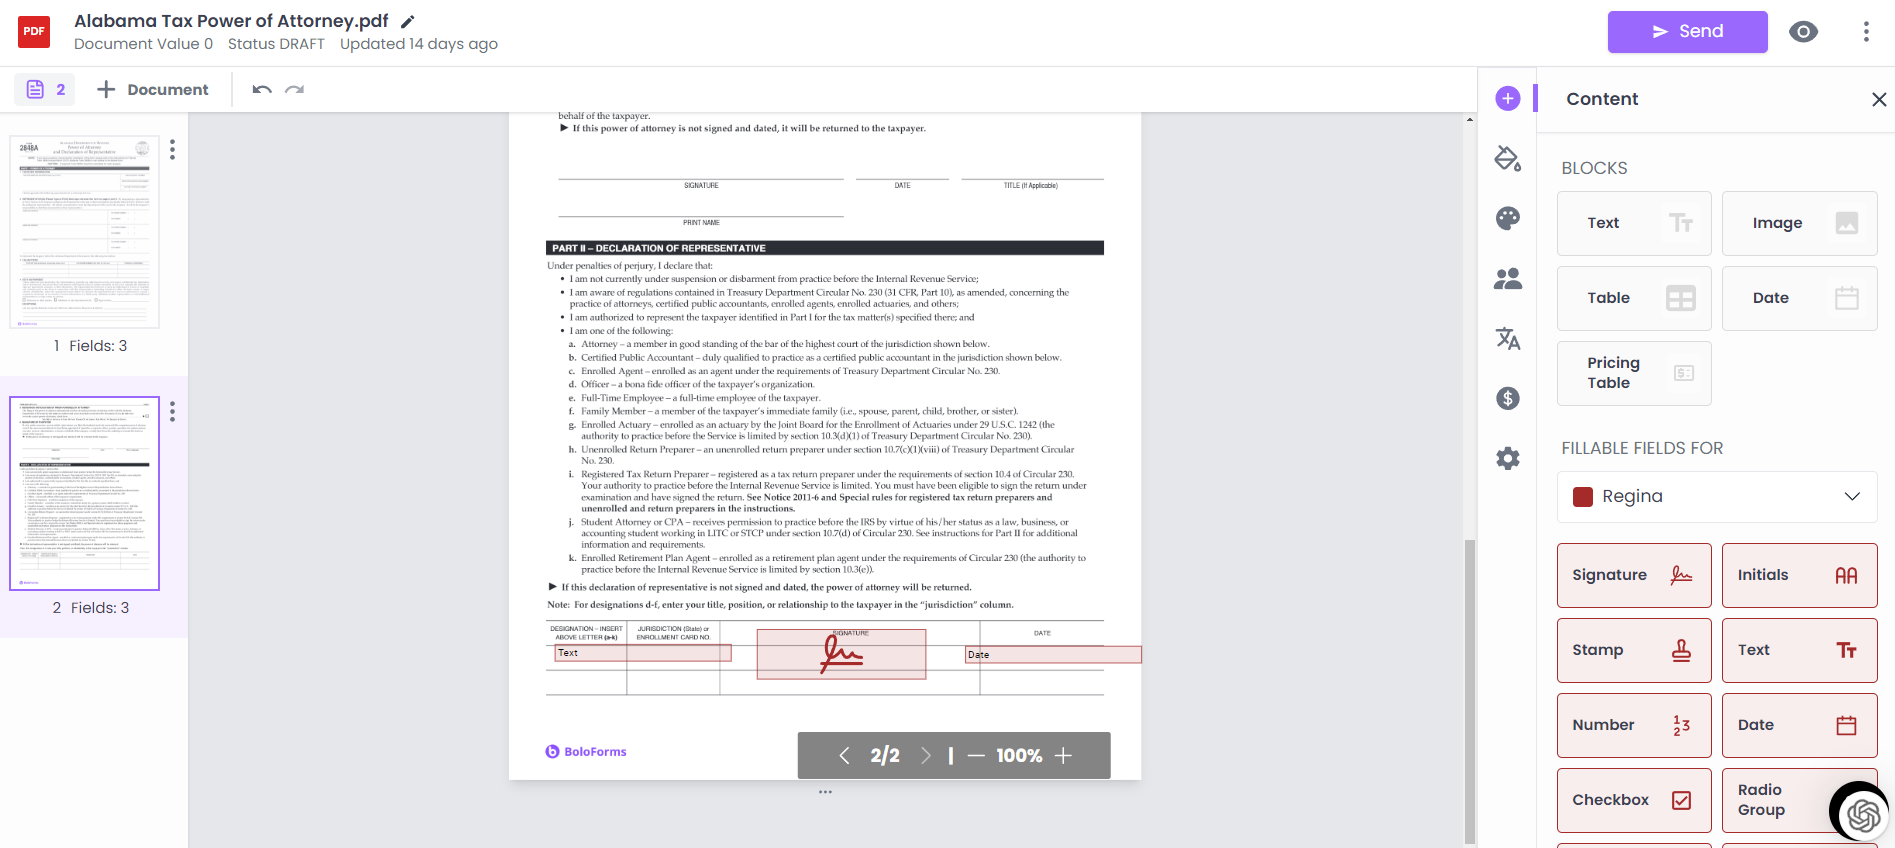
- Open the Document: Click on the uploaded document to open it in the editor.
- Add Signature Fields: Click on the “Add Signature” button. Drag and drop the signature field to the location where the recipient needs to sign. You can resize and adjust the field as needed.
- Multiple Signatures: If your document requires multiple signatures, you can add additional signature fields by repeating the process.
Adding Custom Fields
Custom fields allow you to collect additional information from the recipient, such as dates, initials, or text entries. Here’s how to add them:
- Add Custom Fields: Click on the “Add Field” button. You will see various options like date fields, text fields, checkboxes, etc. Drag and drop the required fields onto the document.
- Customize Fields: Adjust the size and position of each field. You can also set field properties, such as making a field mandatory or optional.
Step 4: Send the Document for Signature
After preparing your document with the necessary fields, it’s time to send it to the recipients for their signatures. Here’s how:
- Enter Recipient Details: Click on the “Send” button. A dialog box will appear where you can enter the email addresses of the recipients. You can add multiple recipients and specify the signing order if needed.
- Compose a Personalized Message: Write a personalized message to your recipients, providing context or instructions about the document they are about to receive. This adds a professional touch and ensures recipients understand the document’s importance.
- Send the Document: After reviewing the recipient details and your message, click “Send.” Your document will be sent to the specified recipients for signature.
Step 5: Track the Status of Your Document
BoloForms Signature provides real-time tracking of your document, so you know exactly where it is in the signing process. Here’s how to monitor the status:
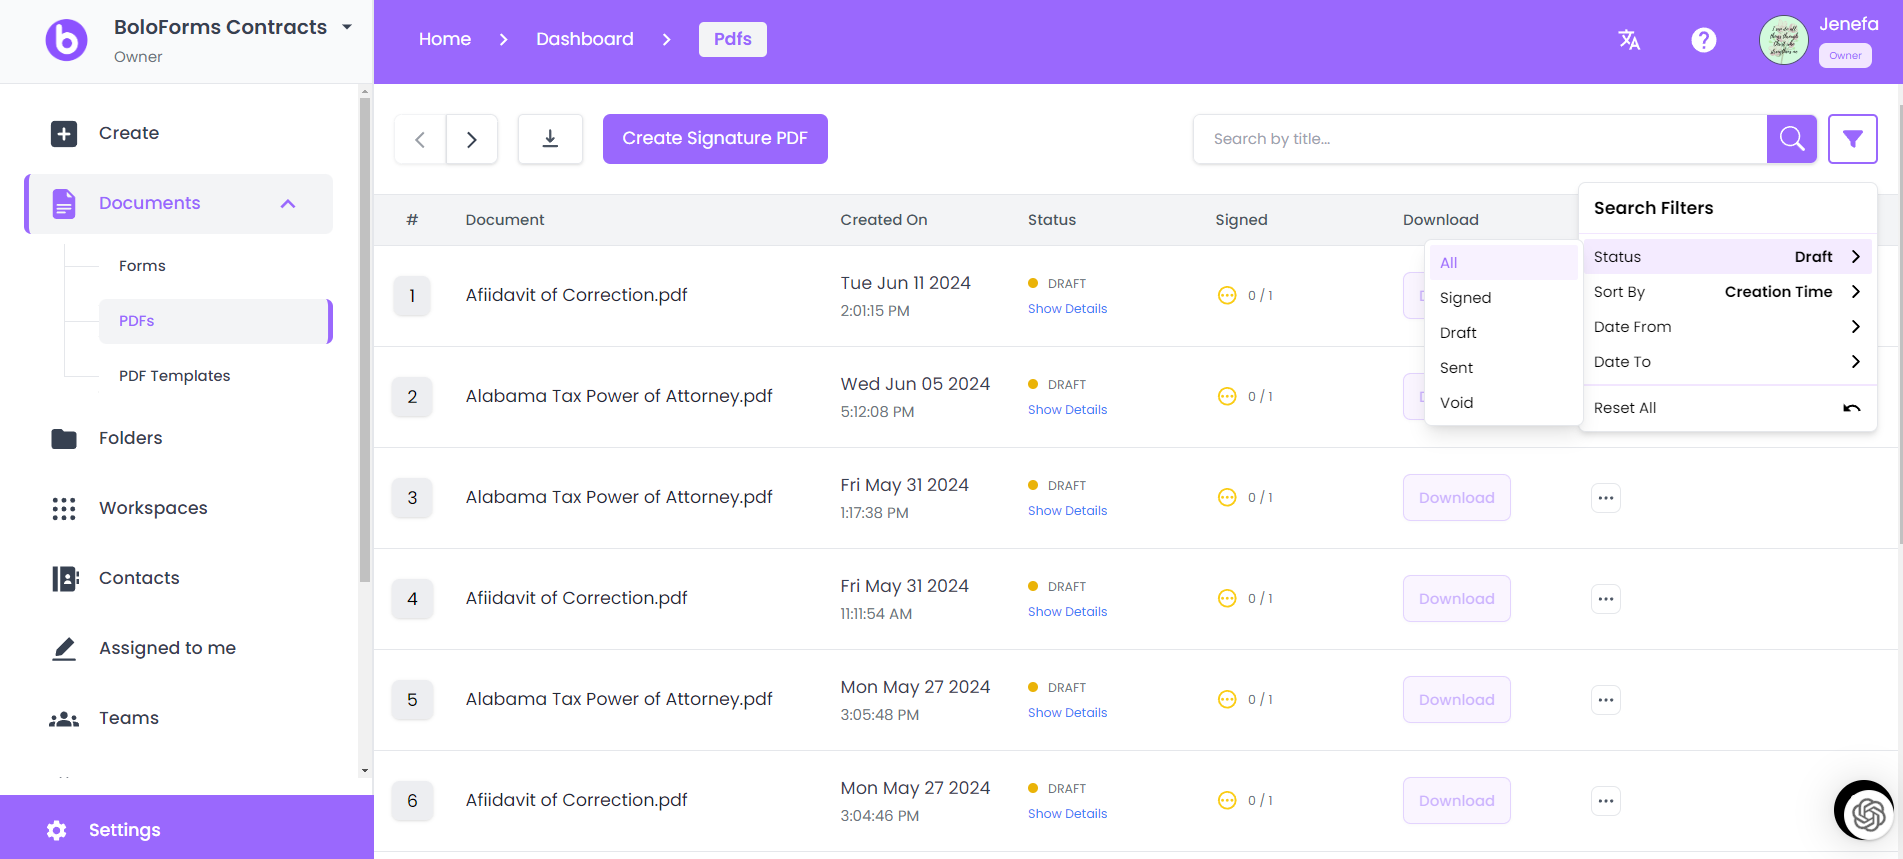
- Check the Dashboard: Return to your dashboard to view the status of your sent document. You can see who has viewed, signed, or completed the document.
- Receive Notifications: BoloForms Signature sends you email notifications when recipients view, sign, or complete the document. This ensures you stay updated without having to constantly check the dashboard.
Step 6: Download the Signed Document
Once all recipients have signed the document, you can download the final, signed copy for your records. Here’s how:
- Go to Completed Documents: Navigate to the “Documents” section of your dashboard.
- Download the Document: Find your document in the list, click on it, and select “Download” to save the signed document to your device.
Tips for Effective Document Handling with BoloForms Signature
To make the most out of BoloForms Signature and ensure a smooth document handling process, here are some additional tips:
Maintain Document Quality
Always ensure that the scanned documents are clear and legible. Poor quality scans can lead to misunderstandings or the need to resend documents, wasting time and effort.
Organize Your Documents
Keep your documents organized within BoloForms Signature by using folders and filess. This helps you quickly locate and manage your documents, especially if you handle a large volume of them.
Use Templates
For documents that require frequent signing, such as contracts or agreements, create templates within BoloForms Signature. This saves time as you won't have to set up fields for each new document.
Enable Two-Factor Authentication (2FA)
To enhance the security of your documents, enable Two-Factor Authentication (2FA) for your BoloForms Signature account. This adds an extra layer of protection, ensuring that only authorized individuals can access and send documents.
Set Reminders and Deadlines
BoloForms Signature allows you to set reminders and expiration for document signing. Utilize these features to ensure timely responses from recipients, especially for time-sensitive documents.
BoloForms Signature: The Ideal Solution for Small Businesses
BoloForms Signature is specifically designed to cater to the needs of small businesses. Here’s why it’s the ideal solution for sending scanned documents:

Cost-Effective
BoloForms Signature offers a pricing package that is approximately 90% cheaper than leading competitors like DocuSign. This makes it an affordable choice for small businesses that need reliable e-signature solutions without breaking the bank.
Easy to Use
The user-friendly interface of BoloForms Signature ensures that even those with minimal technical expertise can easily navigate the platform and send documents for signature. Our intuitive design makes the entire process straightforward and efficient.
Feature-Rich
Despite its affordability, BoloForms Signature is packed with features that enhance the document signing process. From custom fields to real-time tracking, we provide all the tools you need to manage your documents effectively.
Secure and Compliant
Security is a top priority at BoloForms Signature. Our platform complies with industry standards and regulations, ensuring that your documents are handled with the utmost security and privacy.
Excellent Customer Support
Our dedicated customer support team is always ready to assist you with any questions or issues you may encounter. We pride ourselves on providing exceptional support to ensure your experience with BoloForms Signature is smooth and satisfactory.
Conclusion
In today's fast-paced business environment, sending scanned documents is a common task that can often feel cumbersome and time-consuming. Whether you need to send contracts, agreements, or any other important documents, having a streamlined process can save you time and ensure that your documents reach their destination securely. At BoloForms Signature, we've designed a simple and efficient way to send scanned documents, making the entire process hassle-free. In this blog, we'll guide you through the steps to send scanned documents using BoloForms Signature. Whether you're a small business owner, a legal professional, or anyone needing a reliable e-signature solution, BoloForms Signature is here to make your document handling seamless.
If you haven’t yet tried BoloForms Signature, sign up today and experience the ease and efficiency of our platform. Should you have any questions or need further assistance, don’t hesitate to reach out to our support team—we’re here to help you every step of the way.

Paresh Deshmukh
Co-Founder, BoloForms
2 Jul, 2024
Take a Look at Our Featured Articles
These articles will guide you on how to simplify office work, boost your efficiency, and concentrate on expanding your business.